How I Self Hosted My Music
Exactly eleven months ago today, I began to amass my collection of music files to store on my hard drive for easy listening. Since then, my music folder has grown to a whopping 173 gigabytes and is ever-growing as I discover more music to explore. The only problem with having music downloaded locally on my computer is that I have to be sitting at my computer to listen.
I have gotten around this by simply converting my FLAC files to MP3's and moving them over to my phone so I can listen to them using Spotify's local files feature. This, however, is clearly not ideal, as I must first convert the files, move them over to my iPhone using methods like Google Drive, and then place them in my Spotify local files. After all is said and done, I still need to manually add them to a playlist so that I can listen by album. For a while I had no problem with this method (and I still don't mind it), but I thought to myself that there has to be an easier way.
Solution: Self-Hosting
This is where the concept of self hosting comes in. The idea here is that I have some sort of server running at home that allows me to access my downloaded music and listen on the go. People tend to get really into the whole self-hosted ideology, and lots of people opt for having a NAS server. We can't afford that, though, so here's a simple alternative: use an old laptop.
I recently repurposed my HP EliteBook 8440p into a lightweight Linux beast of a machine. I plan on making a blog post detailing what I mean, but for now, just understand that it doesn't take much to run a server.
Setting Up A Navidrome Server
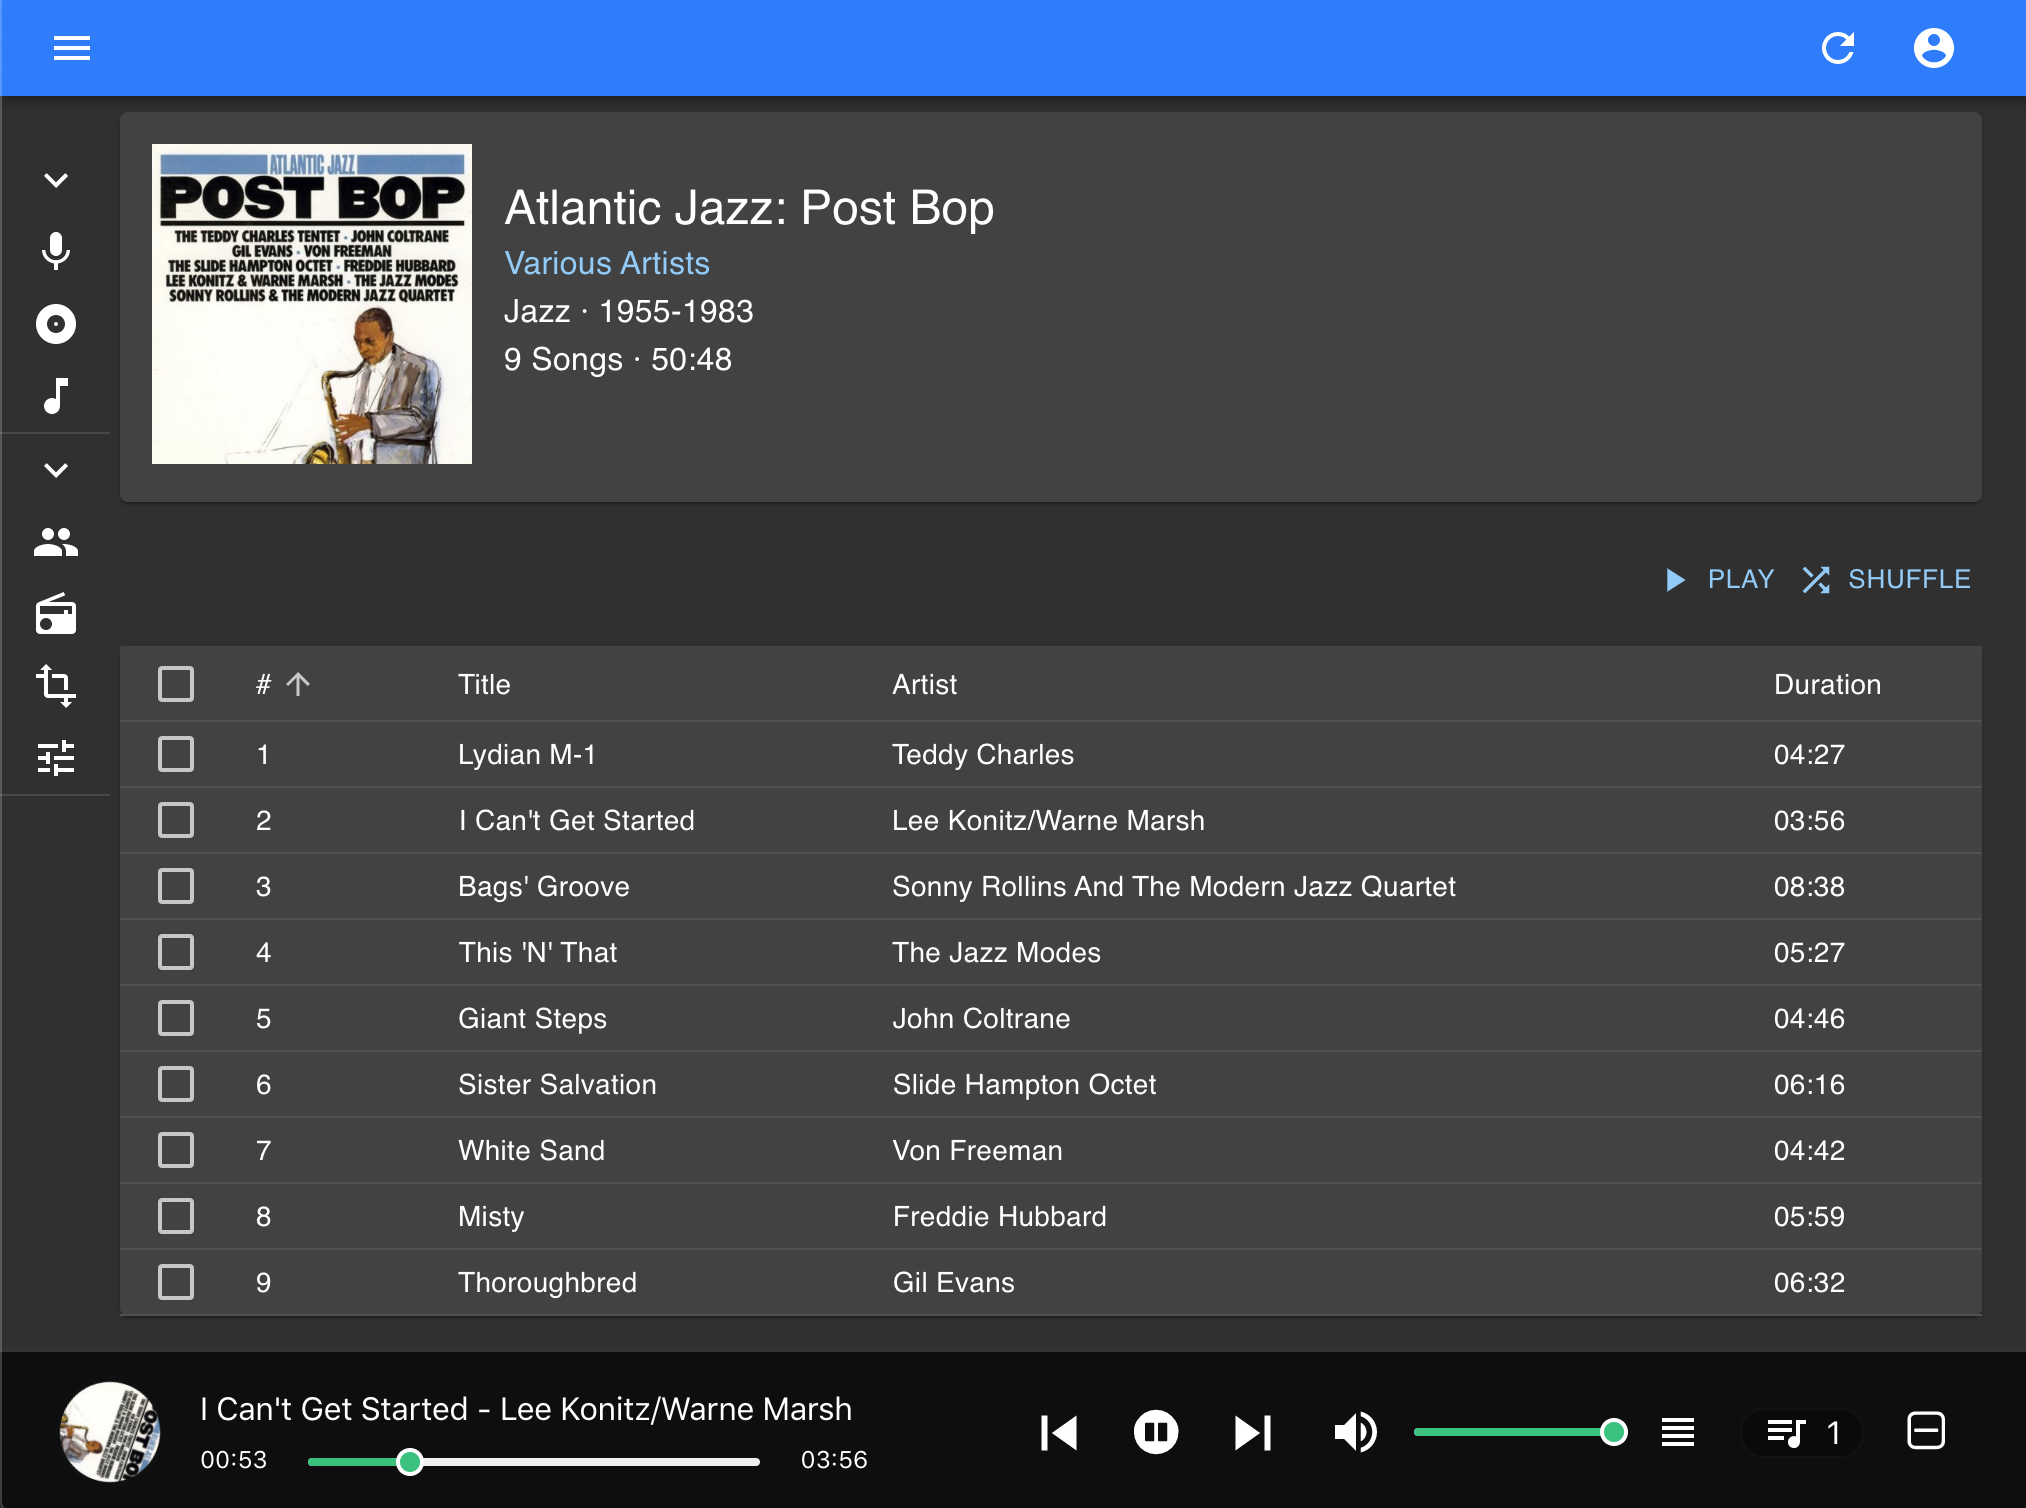
Navidrome is free & open source software that allows you to enjoy your music collection from anywhere. You can take a look at their demo here. Take a look at the interface by logging in.

So how do we use it?
Installing Docker
For the sake of simplicity and because installing dependencies is a pain, I will be using Docker. Imagine Docker as a shipping container for software. It packages the application (in this case Navidrome) and everything that the application needs to run. This makes sure that the application works the same no matter where installed. Just like a shipping container fits on both a ship and a truck. This gets rid of the problem where something runs on one computer but not the other.
Here's how to set it up. This is assuming you are on Linux and have docker already installed. Setup is similar on both Windows and Mac.
docker run -d \
  --name=navidrome \
  -p 4533:4533 \
  -v /path/to/music:/music \
  -v /path/to/data:/data \
  -e ND_LASTFM_ENABLED=true \
  -e ND_LASTFM_APIKEY=your_api_key_here \
  -e ND_LASTFM_SECRET=your_api_secret_here \
  -e ND_SCROBBLING_ENABLED=true \
  deluan/navidrome
The first line starts the Docker server in detached mode, naming it Navidrome and setting it to port 4533. In the following two lines, you should put in paths to both your music directory and an empty folder to store your data.
The LASTFM lines are optional, and you can skip them. Finally, we specify where to grab the container from.
After that is done, you should be able to navigate to http://localhost:4533 and create a Navidrome login. This is great, but we want to be able to access Navidrome from outside of localhost. This leads us to step two.
Tailscale VPN
Tailscale is a modern VPN with no configuration needed. It creates a secure encryption between devices. Normally, in order to get Navidrome to be accessible outside of home internet, you would need to set up port forwarding or do so through a domain name you purchased. This eliminates the need for that, as it gives you a private Tailscale IP address, which you can use anywhere.
This allows us to open Navidrome on our phone and other devices as long as we are connected to the same Tailscale IP address. Sweet!
Install it by running curl -fsSL https://tailscale.com/install.sh | sh from within your terminal. On Windows you can download the .msi file and on Mac, the .pkg.
Now let's get it up and running with sudo tailscale up. This should give you a link to open and login. Next, you will want to install Tailscale on your iPhone, making sure you log in with the same account you did previously.
Now let's get the IP that it gave us. Run tailscale ip -4 and note down the result; it should look something like 100.101.102.103. On your phone's web browser, navigate to http://100.101.102.103:4533 replacing the IP with the one generated earlier. If you are met with the Navidrome login, then it worked.
Listening on iPhone
On Android, this is much easier, as there are plenty of apps that connect to music servers. However, on iPhone I was only able to find a few. I settled on something called amperfy. Go ahead and install it. Once you are in the app, add the same URL you did earlier and login with your Navidrome login. If all goes smoothly, you should see all your music in there.
Happy listening!